[Tut] Simple Photo Retouching/Manipulation Techniques - Part One
| Author |
Message |
Degensquared
|
 Posted: Wed Sep 26, 2007 8:49 pm Post subject: [Tut] Simple Photo Retouching/Manipulation Techniques - Part One Posted: Wed Sep 26, 2007 8:49 pm Post subject: [Tut] Simple Photo Retouching/Manipulation Techniques - Part One |
|
|
Alright everyone  , Im going to tell you how to make some simple additions to pictures that can go a very long way. , Im going to tell you how to make some simple additions to pictures that can go a very long way.
I will be using a stock photo of a woman that I found on [url]sxc.hu[/url] (I recieved permission from author)
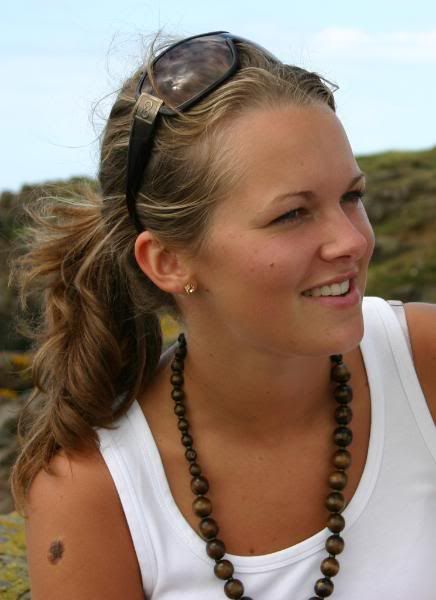
Overlay Technique:
The overlay technique consists of a few short steps.
1. Open the Stock Photo (Pretty Straight Forward)
2. Duplicate the layer, either using Ctrl+J keyboard shortcut, or by right clicking on the layer and pressing duplicate.
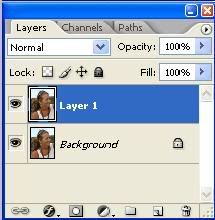
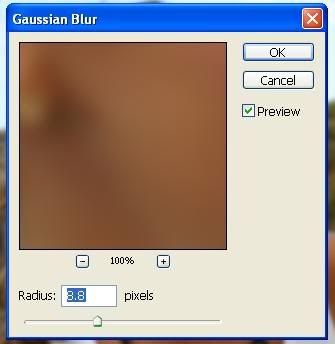
3. Select the top layer, and go to Filter -> Blur -> Gaussian Blur. Experiment with some different blur radius's (You will need a different radius for a different sized photo.) so that it looks something like it does in this picture.
4. Set the Blending Mode to overlay, and adjust the opacity until you get a desirable result.

RESULTS:
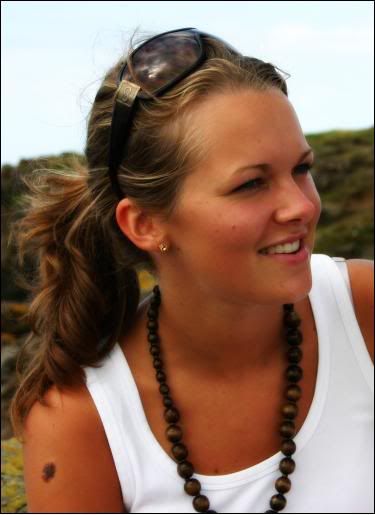
This technique if used correctly, does not create much difference. It mainly airbrushes the skin, and gives your focus a radiant glow.
Curves:
Curves can allow us to adjust the mood of a picture, simply by altering the color curves of certain channels.
1. Open your stock photo.
2. Go to Layer -> New Adjustment Layer -> Curves
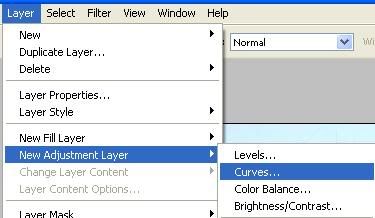
3. You can now Chose what you would like the mood to change to. By playing with the curve, and changing which channel you adjust said curve on, the effect changes.
For example:
For a Warmer Feel to the picture you might see this curve on the red channel:
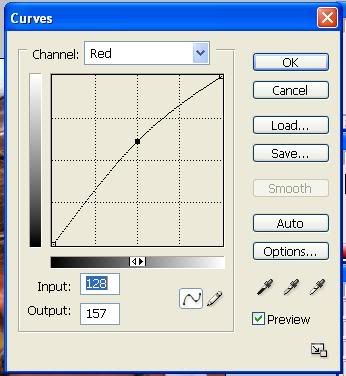
Likewise, for a colder feel to the picture you might see a curve like this on the blue channel:
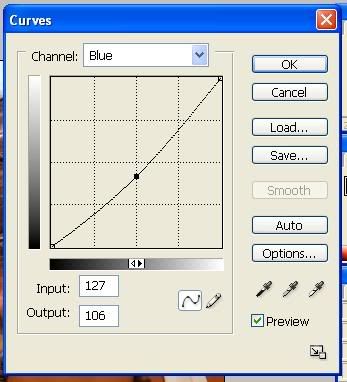
RESULTS:
Warmer:
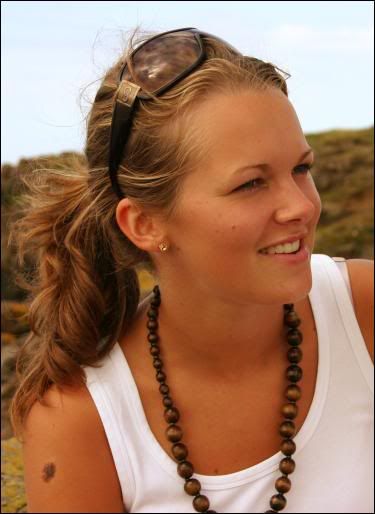
Colder:
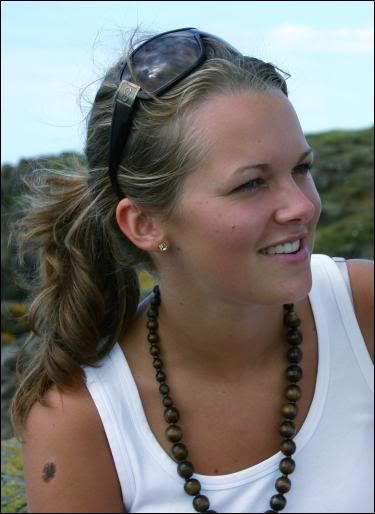
This concludes Part One! Hope you enjoy 
<3, Degen. |
|
|
|
|
 |
Sponsor
Sponsor


|
|
 |
|
|

